A friend sent me this recipe for Resurrection Buns and I couldn’t wait to make it with the girls. Better than sounding super yummy … I loved the message shared while making them.
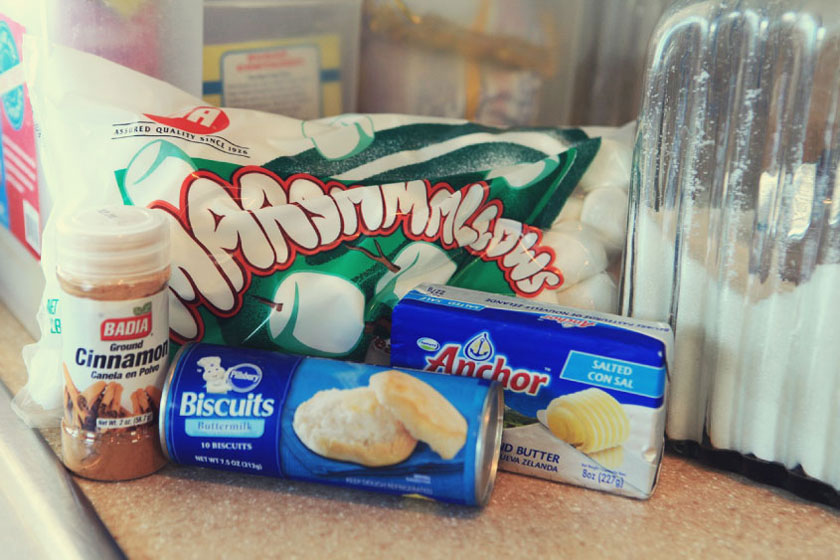
So here’s what you need:
- Pillsbury Grands (or other large) canned biscuit
- Large marshmallows
- Melted butter
- Sugar
- Cinnamon
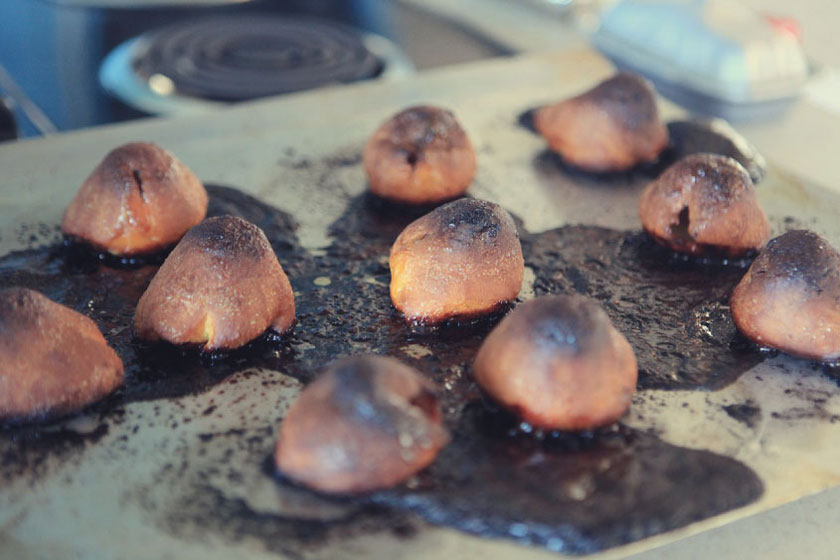
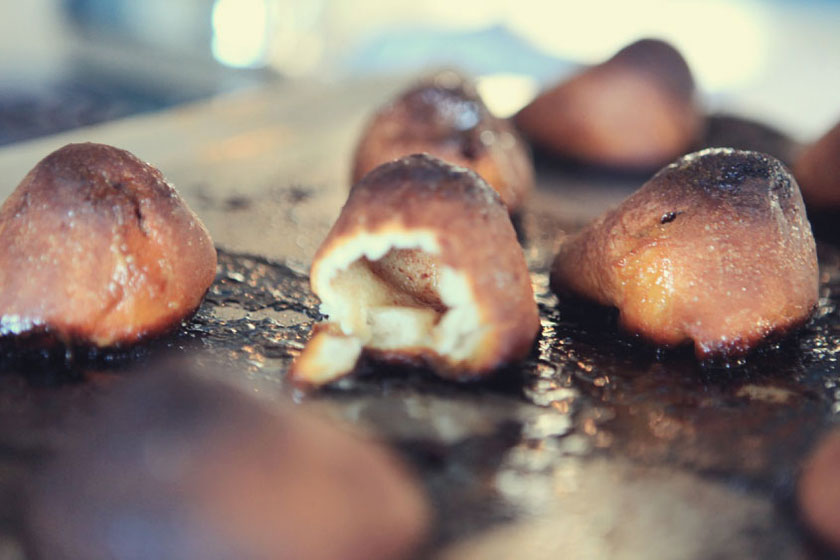
Since we’re traveling, I had to make due with what ingredients we could find. As you’ll see by the photos at the end of this post … I’m thinking the “Grands” in the ingredient list is key! ;)
Step One:
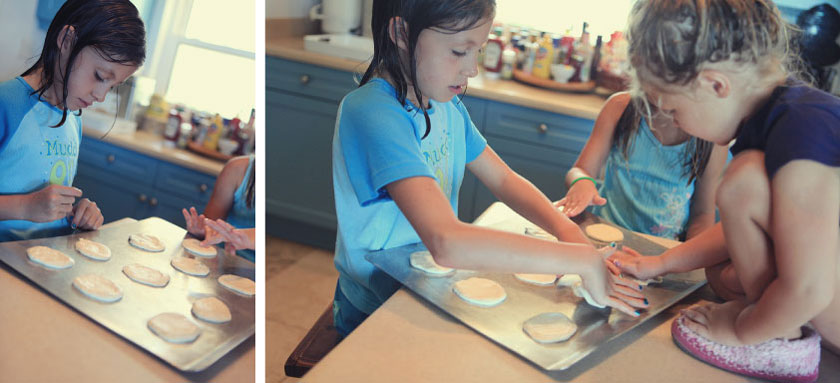
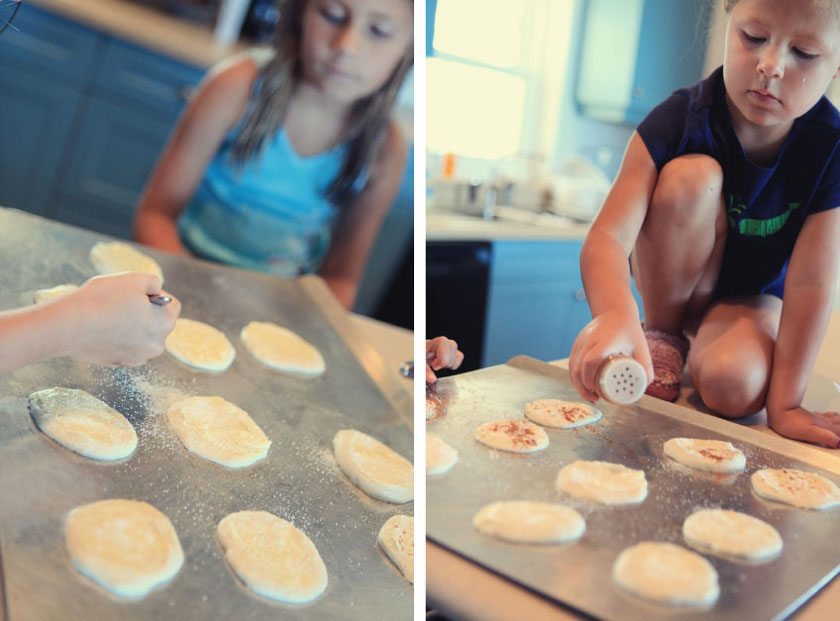
Have each child flatten a biscuit until it’s about 5 inches across. Then they spread melted butter, sugar and cinnamon on it. Explain that the spices represent the spices used to anoint Jesus’ body before His burial.
{if you give a baby a marshmallow …}
Step Two:
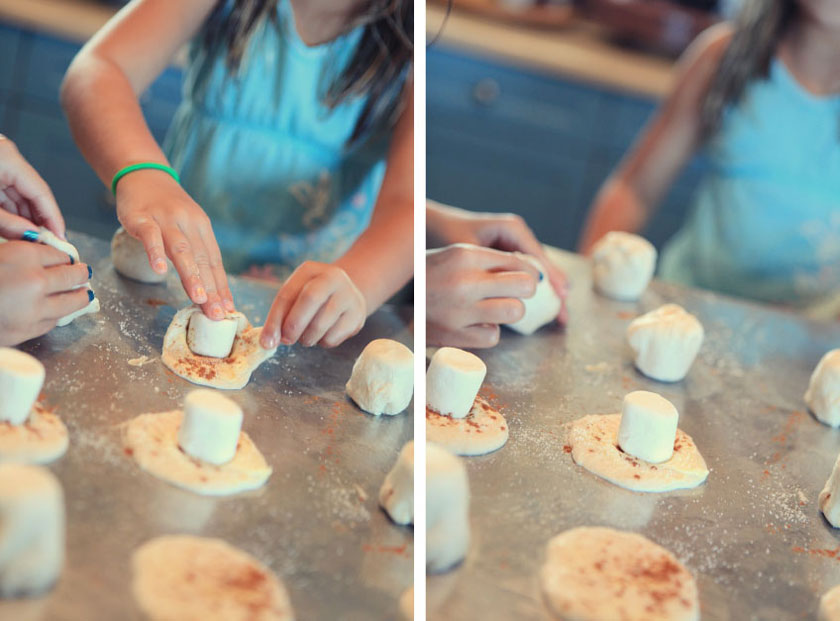
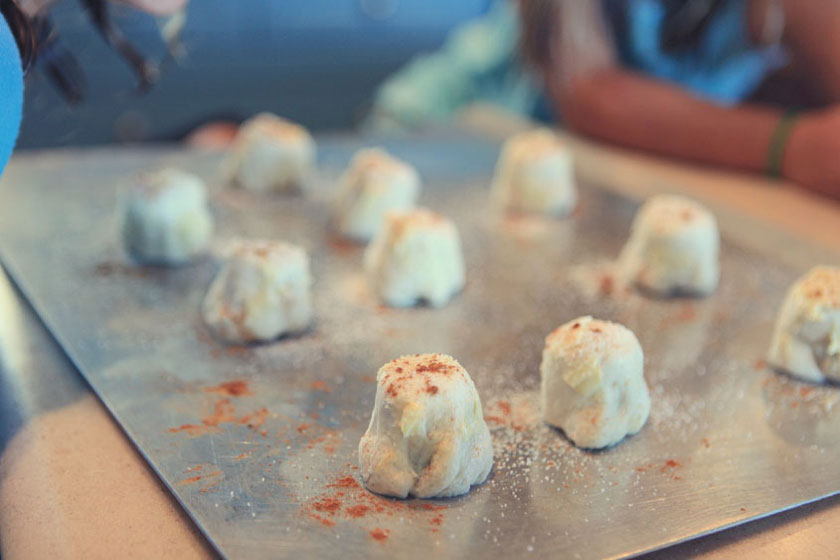
Each child gets one large marshmallow. This represents Jesus: it is white because it stands for His purity and His sinless life. Place the marshmallow in the center of the biscuit; then fold the sides around it forming a “tomb.” (Help the younger children pinch the sides of their tombs closed – then place them crease-side down on a baking sheet so they won’t open while cooking). Put more butter, cinnamon and sugar on the outside. Talk about the sweet taste of the spices and how Jesus gave us the sweetest gift we will ever receive.
Step Three:
Bake the buns according to the directions on the biscuit package. Note: they need a little extra cooling time because the marshmallow makes them very hot.
{this is definitely not how you want your finished buns to look …}
Step Four:
When the children bite into their buns, they will be surprised to find the center empty. The marshmallow has melted. As each child discovers the empty tomb, we celebrate that “He is not here; He has risen, just as He said.” (Matthew 28:6)
The girls were really excited while we were making these. They loved the project, but also had fun talking about what we were doing and why.
We decided we’re going to try another go. I think because I had smaller biscuits and because of the marshmallow inside … this time I’ll lessen the cooking time, or at least keep a better watch on them!
Click here to download a printable pdf of this full recipe {sans burnt buns photos}.
Enjoy!


Thanks for sharing this, Tracie! We were just talking in my moms group at church yesterday about ways to explain Easter to our kids. I love this!
That is a great idea! You come up with some of the best projects! Thanks for sharing. C & I were talking the other day about explaining Easter to our little P and this is a great way to start! Thanks. Hope that you continue to have fun on vacation!
I think this is an awesome way to teach kids about Easter. How cool!
this is perfect!! I was thinking of doing resurrection eggs, but I feel my little ones are still too young to fully grasp those concepts. Thanks for posting!
what a great opportunity to teach with a hands on visual! i love this!
p.s. i FINALLY took your (twitter) advice on the tooth fairy. days after the blessed event we finally wrote a letter to her explaining the situation, & lo & behold she left a little gift for him last night! (i can blame the forgetfulness on cognitive issues…right?)
p.p.s. thanks for the comment; especially about the pictures. i have the world’s worst camera & photography skills, but to hear from a professional that you loved the photos made my day! thanks for the extra bit of sunshine!
That’s really thinnikg out of the box. Thanks!
OH MY GOODNESS I CANNOT WAIT TO HAVE KIDS SO I CAN DO THIS WITH THEM!!!!!!!!!!!!!!!
Love this idea- thanks for sharing!!
Terrific idea!! This will be the perfect afternoon activity for us today. :):) THANKS!!!!!!!!!
Oh, Iove this! I have 2 small children and this is one of the best ways to explain the best gift ever. I’m doing this tomorrow with them. Thanks for sharing!
If the girls weren’t leaving tomorrow or if I’d read this before going to the store earlier today we’d totally be doing this!
Thanks for the reminder on these sweet treats. My 3-year-old loved them and it was a great teaching moment :)
Thanks so much for the reminder on how to make these treats. It was a great teaching moment with my 3-year-old :)